A letterman jacket patch set isn’t one-size-fits-all — the right sizing depends on the sport, the garment, and how the patches are meant to work together. Here’s what we’ve actually learned making these across football, basketball, volleyball, soccer, and cheer.
Jacket vs. Jersey: Two Different Sizing Rules
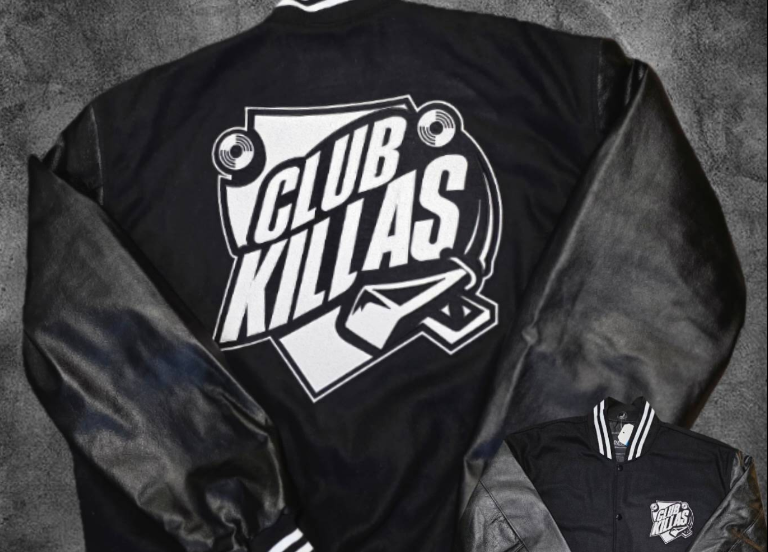
The biggest factor isn’t the sport — it’s the garment. A structured letterman jacket typically gets a large back patch, a smaller front patch, and small accent patches around the sleeves. A loose-fit sports jersey has far more open back space, which is why we regularly produce back patches as large as 14″ for jerseys — sizing that would look oversized on a fitted jacket.
Real Sport Examples
Sizing varies a lot by sport and application. A few real examples from orders we’ve produced:
- Volleyball: 3″-4″ embroidered chest patches, bold block lettering
- Basketball: A 14″ chenille back patch paired with a 4.5″ front patch — team name, season year, and a basketball graphic
- Football: 4.5″ embroidered chest emblems, often ordered in runs of 100 for a full roster
- Soccer: 8″ chenille patches, a mid-size option between a chest emblem and a full back patch
- Cheer: 10″ oval embroidered designs, often with inverted color schemes for visual contrast
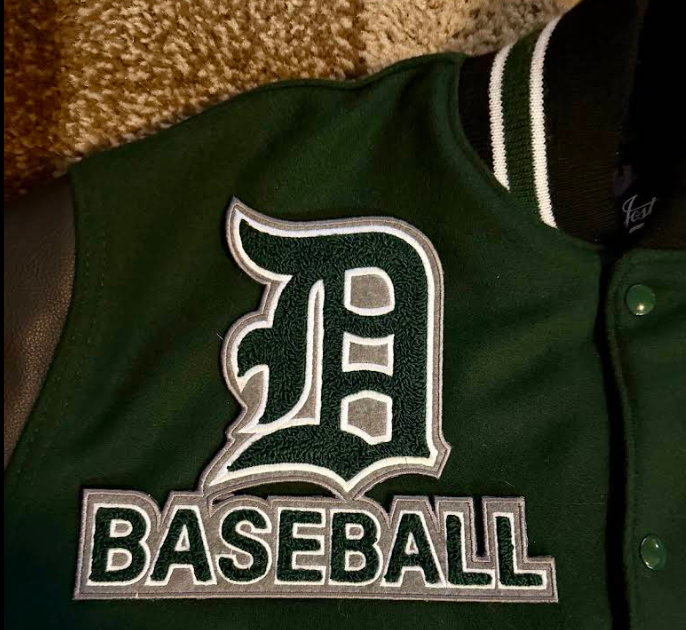
Varsity font shows up repeatedly across these orders — it’s become the default lettering style for jacket and jersey patches specifically, distinct from the fonts used on other patch types.
The #1 Sizing Mistake: Not Accounting for Fit
The most common mistake we see is ordering a back patch size — usually 12″ — without considering the garment’s actual fit. A 12″ back patch looks correctly proportioned on a regular or slim-fit jacket. On a loose or box-fit jacket, that same 12″ patch can look noticeably small relative to the extra width of the garment. Before ordering, measure the actual back panel of your jacket or jersey — don’t rely on a general size chart alone, since fit style changes what “correct” actually looks like.
A Real Example of the Proportion Problem
Our full placement and sizing guide covers the general rule: always specify a patch by its single biggest dimension, not two separate measurements, or you risk distorting the design’s proportions. Here’s how that plays out in practice: a customer recently ordered a rectangular design specified at 14″ tall — but because the design’s width didn’t scale proportionally, the finished patch came out only 10″ wide, and looked noticeably too narrow once it arrived. We remade the patches at the correct 14″ width to match, at no cost to the customer. The lesson: for a rectangular or landscape design, always confirm both dimensions in the digital mock-up before production, not just the one number you specified.
Getting Started
Tell us your sport, your garment type (jacket vs. jersey), and whether you need a single patch or a full set — we’ll recommend sizing based on real production experience, not just a generic chart, and you’ll see exactly how it looks in a free digital mock-up before anything goes into production.